Decompilers are special modules that work on units as input instead of artifacts. They produce units as well, representing portions of decompiled source code.
Decompilers#
JEB Pro ships with decompilers for:
- Dalvik (Android Dex files)
- Intel x86: x86_32, x86_64, x87 (fpu), MMX, SSE, other ISA extensions (support is limited/WIP for sse2+ and avx)
- ARM: 32-bit, Thumb (16-bit), aarch64 (64-bit), most ISA extensions
- MIPS (32-bit, 64-bit)
- RISC-V (RV32, RV64)
- Simatic S7 PLC (MC7), for S7-300/S7-400 programs (Manual)
- WebAssembly modules (wasm)
- Ethereum contracts (EVM code)
- Java (classfile)
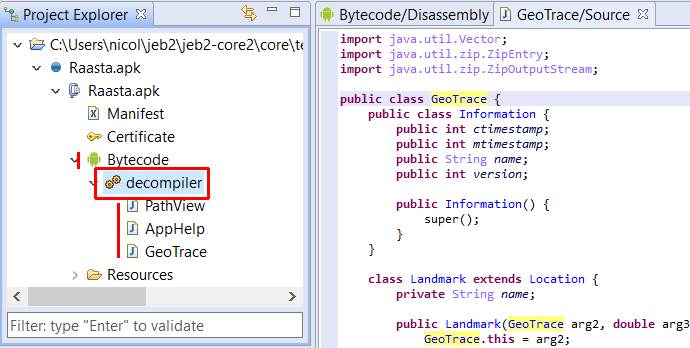
The following picture shows a child decompiler unit, as well as a suite of decompiled classes units.
Internals#
Currently, JEB relies on two separate decompiler pipelines:
DEXDEC(dexdec) is the Dex/Dalvik (as well as Java) decompiler. This decompiler works exclusively with Dalvik input. The primary interface to the reference implementation is IDexDecompilerUnit.GENDEC(gendec) is the Generic decompilation pipeline, which can handle all types of code, native code, managed code, or else. GENDEC is more modular and open than DEXDEC. All native (x86, arm, etc.) as well as non-native (Ethereum, WebAssembly) decompiler plugins are built on GENDEC. The primary interface to the reference implementation is INativeDecompilerUnit.
How to Decompile#
- In the assembly view, position your caret on the area of code you would like to decompile.
- Hit the Tab key to decompile code (you can customize this, see the Keyboard Shortcuts section in the Settings page)
- If a decompiler unit can be created for the current code unit, a new decompiled code unit will be created
- The decompiled code unit will receive focus and the caret positioned on the area of code that most closely corresponds to the low-level bytecode or machine code
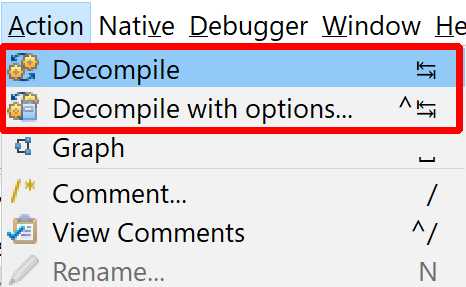
Decompiling with Options#
Decompiling with Options is also offered in the Action menu. The default keyboard shortcut is MOD1+Tab. (On most platforms, MOD1 is the Control key; on macOS, it is the Command key.)
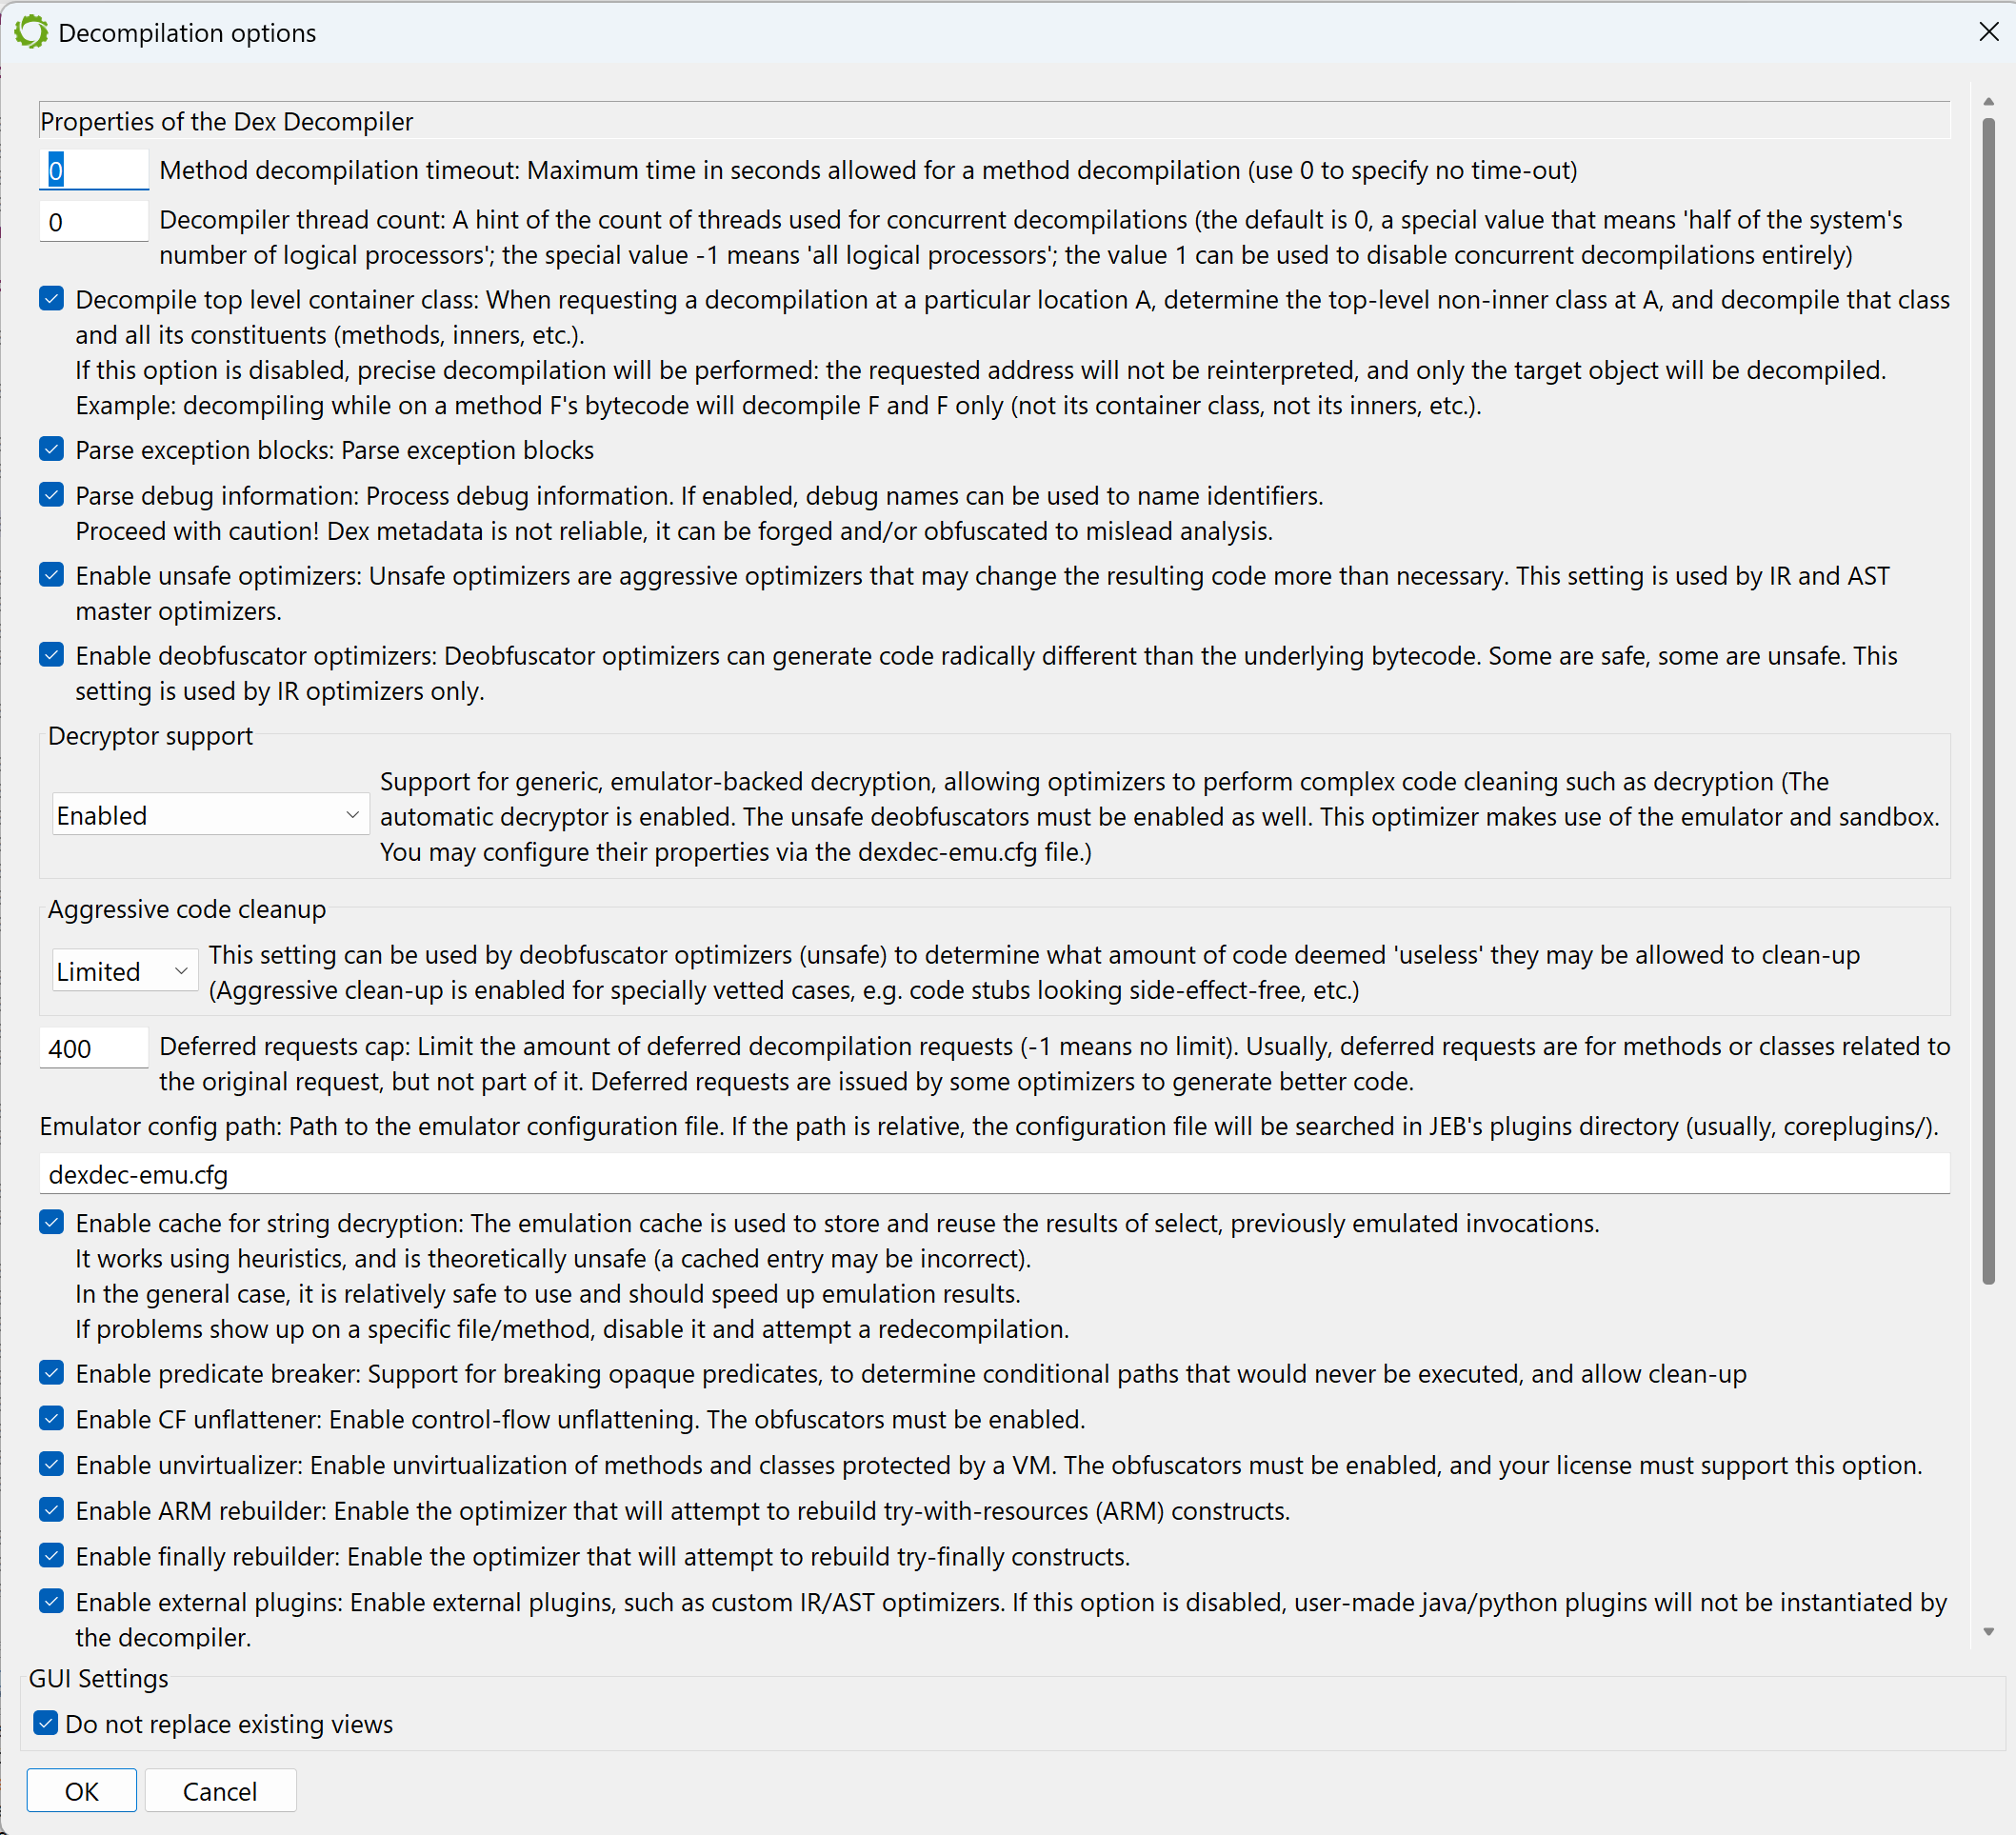
When the current settings of your decompiler plugin are not exactly how you want to decompile at a given location, use Decompile with Options to change your settings on the fly.
This action also allows users to force the re-decompilation of an already decompiled code item. (A clunkier alternative would be to find the corresponding decompiled unit node in the Project Hierarchy, remove it, and then decompile again.)
Back to the Assembly#
Conversely, you can go back to the assembly from a decompiled view by using the Tab key.
Managing Views#
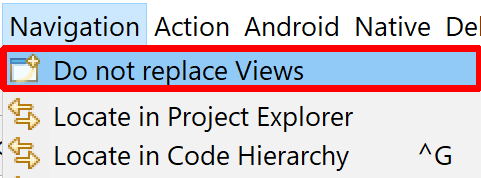
By default, a view representing a portion of decompiled code (e.g., a class) will be replaced by the next class being decompiled. This default behavior is to avoid cluttering the workspace with tens of views representing various decompiled artifacts. However, if you would like to open every piece of decompiled code in a separate view, you may do so by checking the Navigation, do not replace Views menu option.
Actions and Interactivity#
Generally, when it comes to interactivity, decompilation plugins proxy requests to their corresponding parent code unit. That means that the actions set offered is essentially the same. The consistency between views is maintained.