JEB 1.3 ships with two plugins that allow users to create signatures for library code, and apply signatures onto DEX files. (Note: we are not talking about digital signatures here, but rather, binary strings that are used to identify a method or body of code.)
Combined with the new navigation bar, portions of a DEX file that contain third-party frameworks (such as those ubiquitous ad libraries) or already analyzed code, can be easily identified: such areas will be marked using a light-green color in the navigation bar.
Applying signatures
In practice, applying signatures is extremely easy:
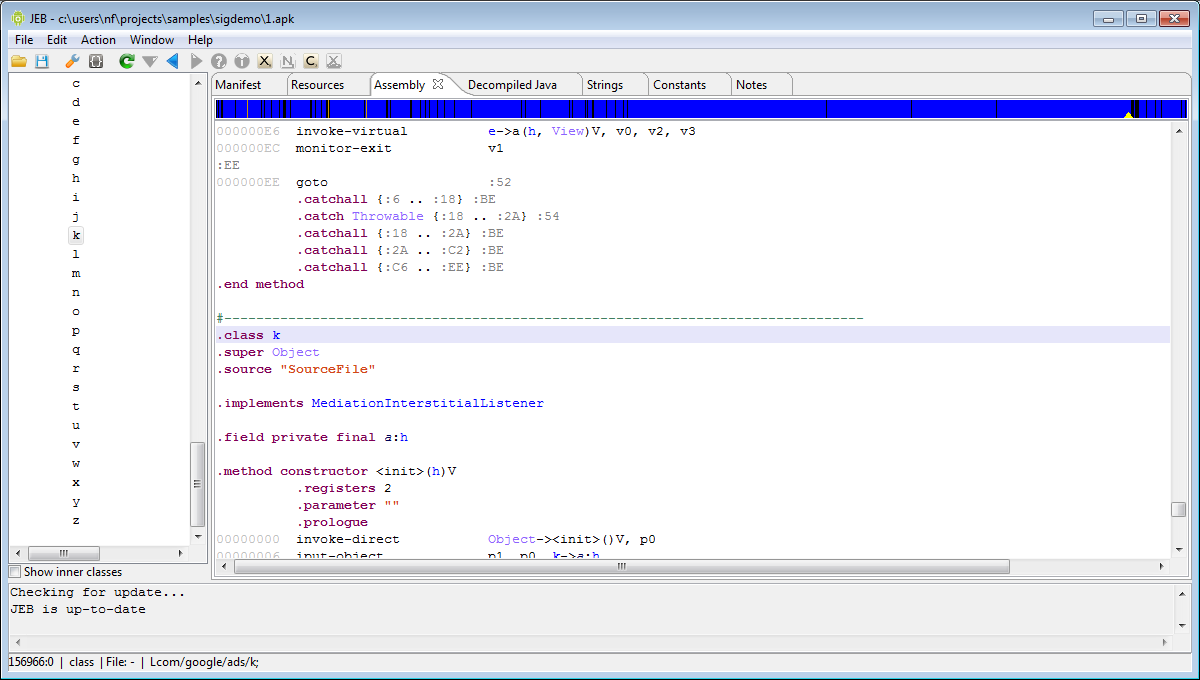
1- Load the file in JEB: as can be seen below, the navigation bar is mostly blue, which means no library code has been spotted yet. (Note: The orange marks identify public constant fields – public static final.)
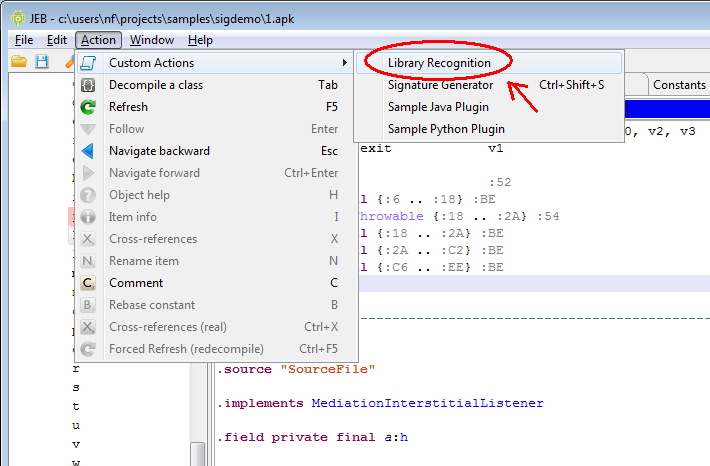
2- Fire up the Library Recognition plugin. (Menu: Action / Custom Action / Library Recognition.)
3- By default, the plugin looks for library signature files (*.sig extension) stored in the “sigs” sub-directory.
4- The signatures are applied where they can be applied, and the results are visible both in the navigation bar (the light-green portions) and the console window. Here, many Google AdMob routines were recognized; it appears they make up for more than half of the entire DEX file.
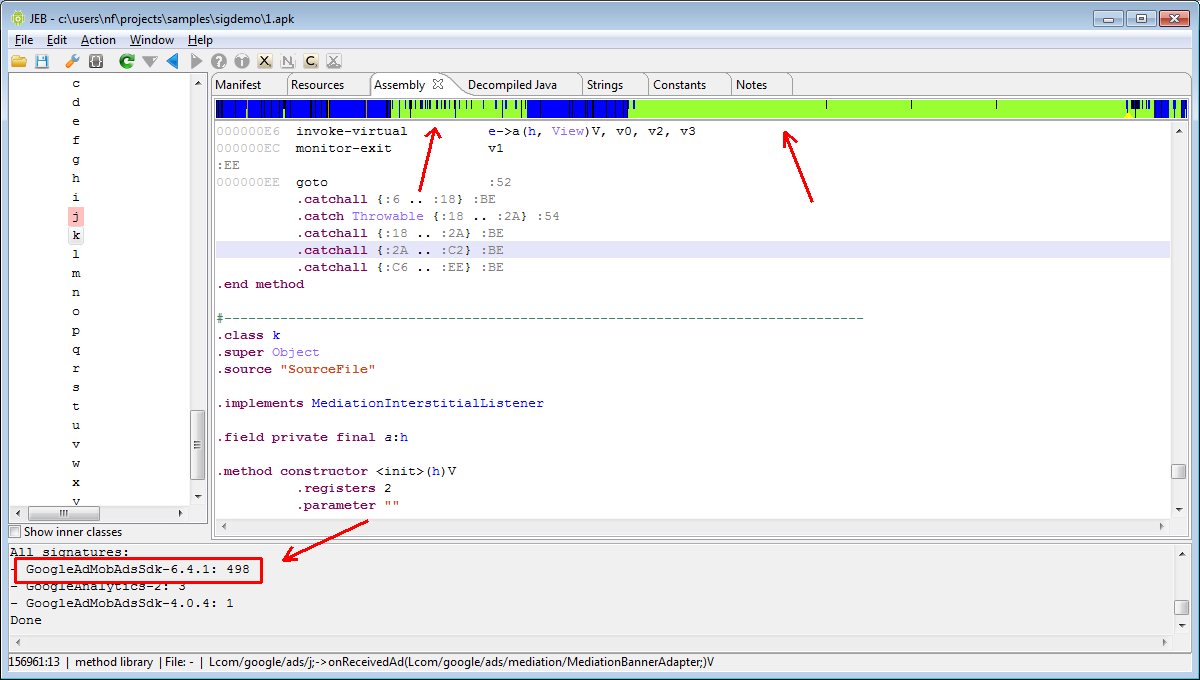
Close examination of the navigation bar shows that it is divided into two parts:
- The upper half concerns methods and fields.
- The lower half concerns classes as a whole.
Due to how the matching algorithm works, an entire class may be marked as library code, when not all corresponding methods and fields may be.
Creating signatures
JEB ships with library signatures for popular Google and Android frameworks. But it is also extremely easy to create your own library signatures.
Let’s take an example. That same APK file contains the Android Support classes; let’s sign them.
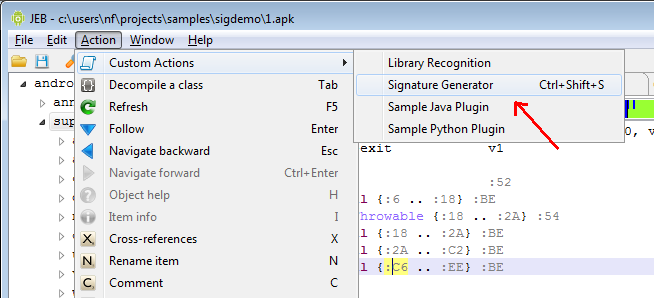
1- Execute the Signature Generator plugin. (Menu: Action / Custom Action / Signature Generator.) Note that the plugin may also be executed from the command line and take arguments from the command line, in Automation mode. This is particularly useful for bulk signature creation.
2- The plugin asks the user for two pieces of information:
- The library name: it is recommended to use the format “<libraryname>-<version>”. Here, we will go for: android-support-13
- The regular expression that identifies which methods should be signed. We want to sign all methods of the android.support.v4 package, so we will input: Landroid/support/v4/.* (Java internal name convention)
After proceeding, the plugin signs the target code. The signing results appears in the Console window:

3- The signature file is created in the “sigs” directory. Later on, when you apply signatures to other DEX files, the android-support signatures will be automatically checked and matched against those DEX files.
If you were to re-apply signatures to the currently examined APK file, the android-support methods and classes would obviously be matched, and the navigation bar would reveal that most of this APK is library code:

In a future blog post, we will spend some time describing how the signing and matching algorithms work. Keep in mind the library code signing/matching system is plugins-based, which means it can be customized or tweaked by JEB users. Just have a look at the ApplySigs.py and GenSig.py files in the plugins directory if you’re curious about that.
Stay tuned.