As we announced yesterday, the demo version of JEB2 beta is now available for download! We are very excited about this new product, and here is why:
New features and improvements
- A complete separation of the front- and back-end
This enables the creation of various front-ends: high-end customers can craft their own clients. They may be graphical, command-line based, or integrated within an automation pipeline.
Connected to that design point is the new, rich UI desktop platform, which had been on our road-map for quite some time. Our customers will now enjoy the power of Eclipse RCP as their primary official front-end.
- A modular, plugin-based back-end architecture
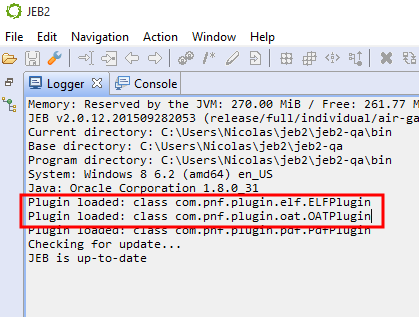
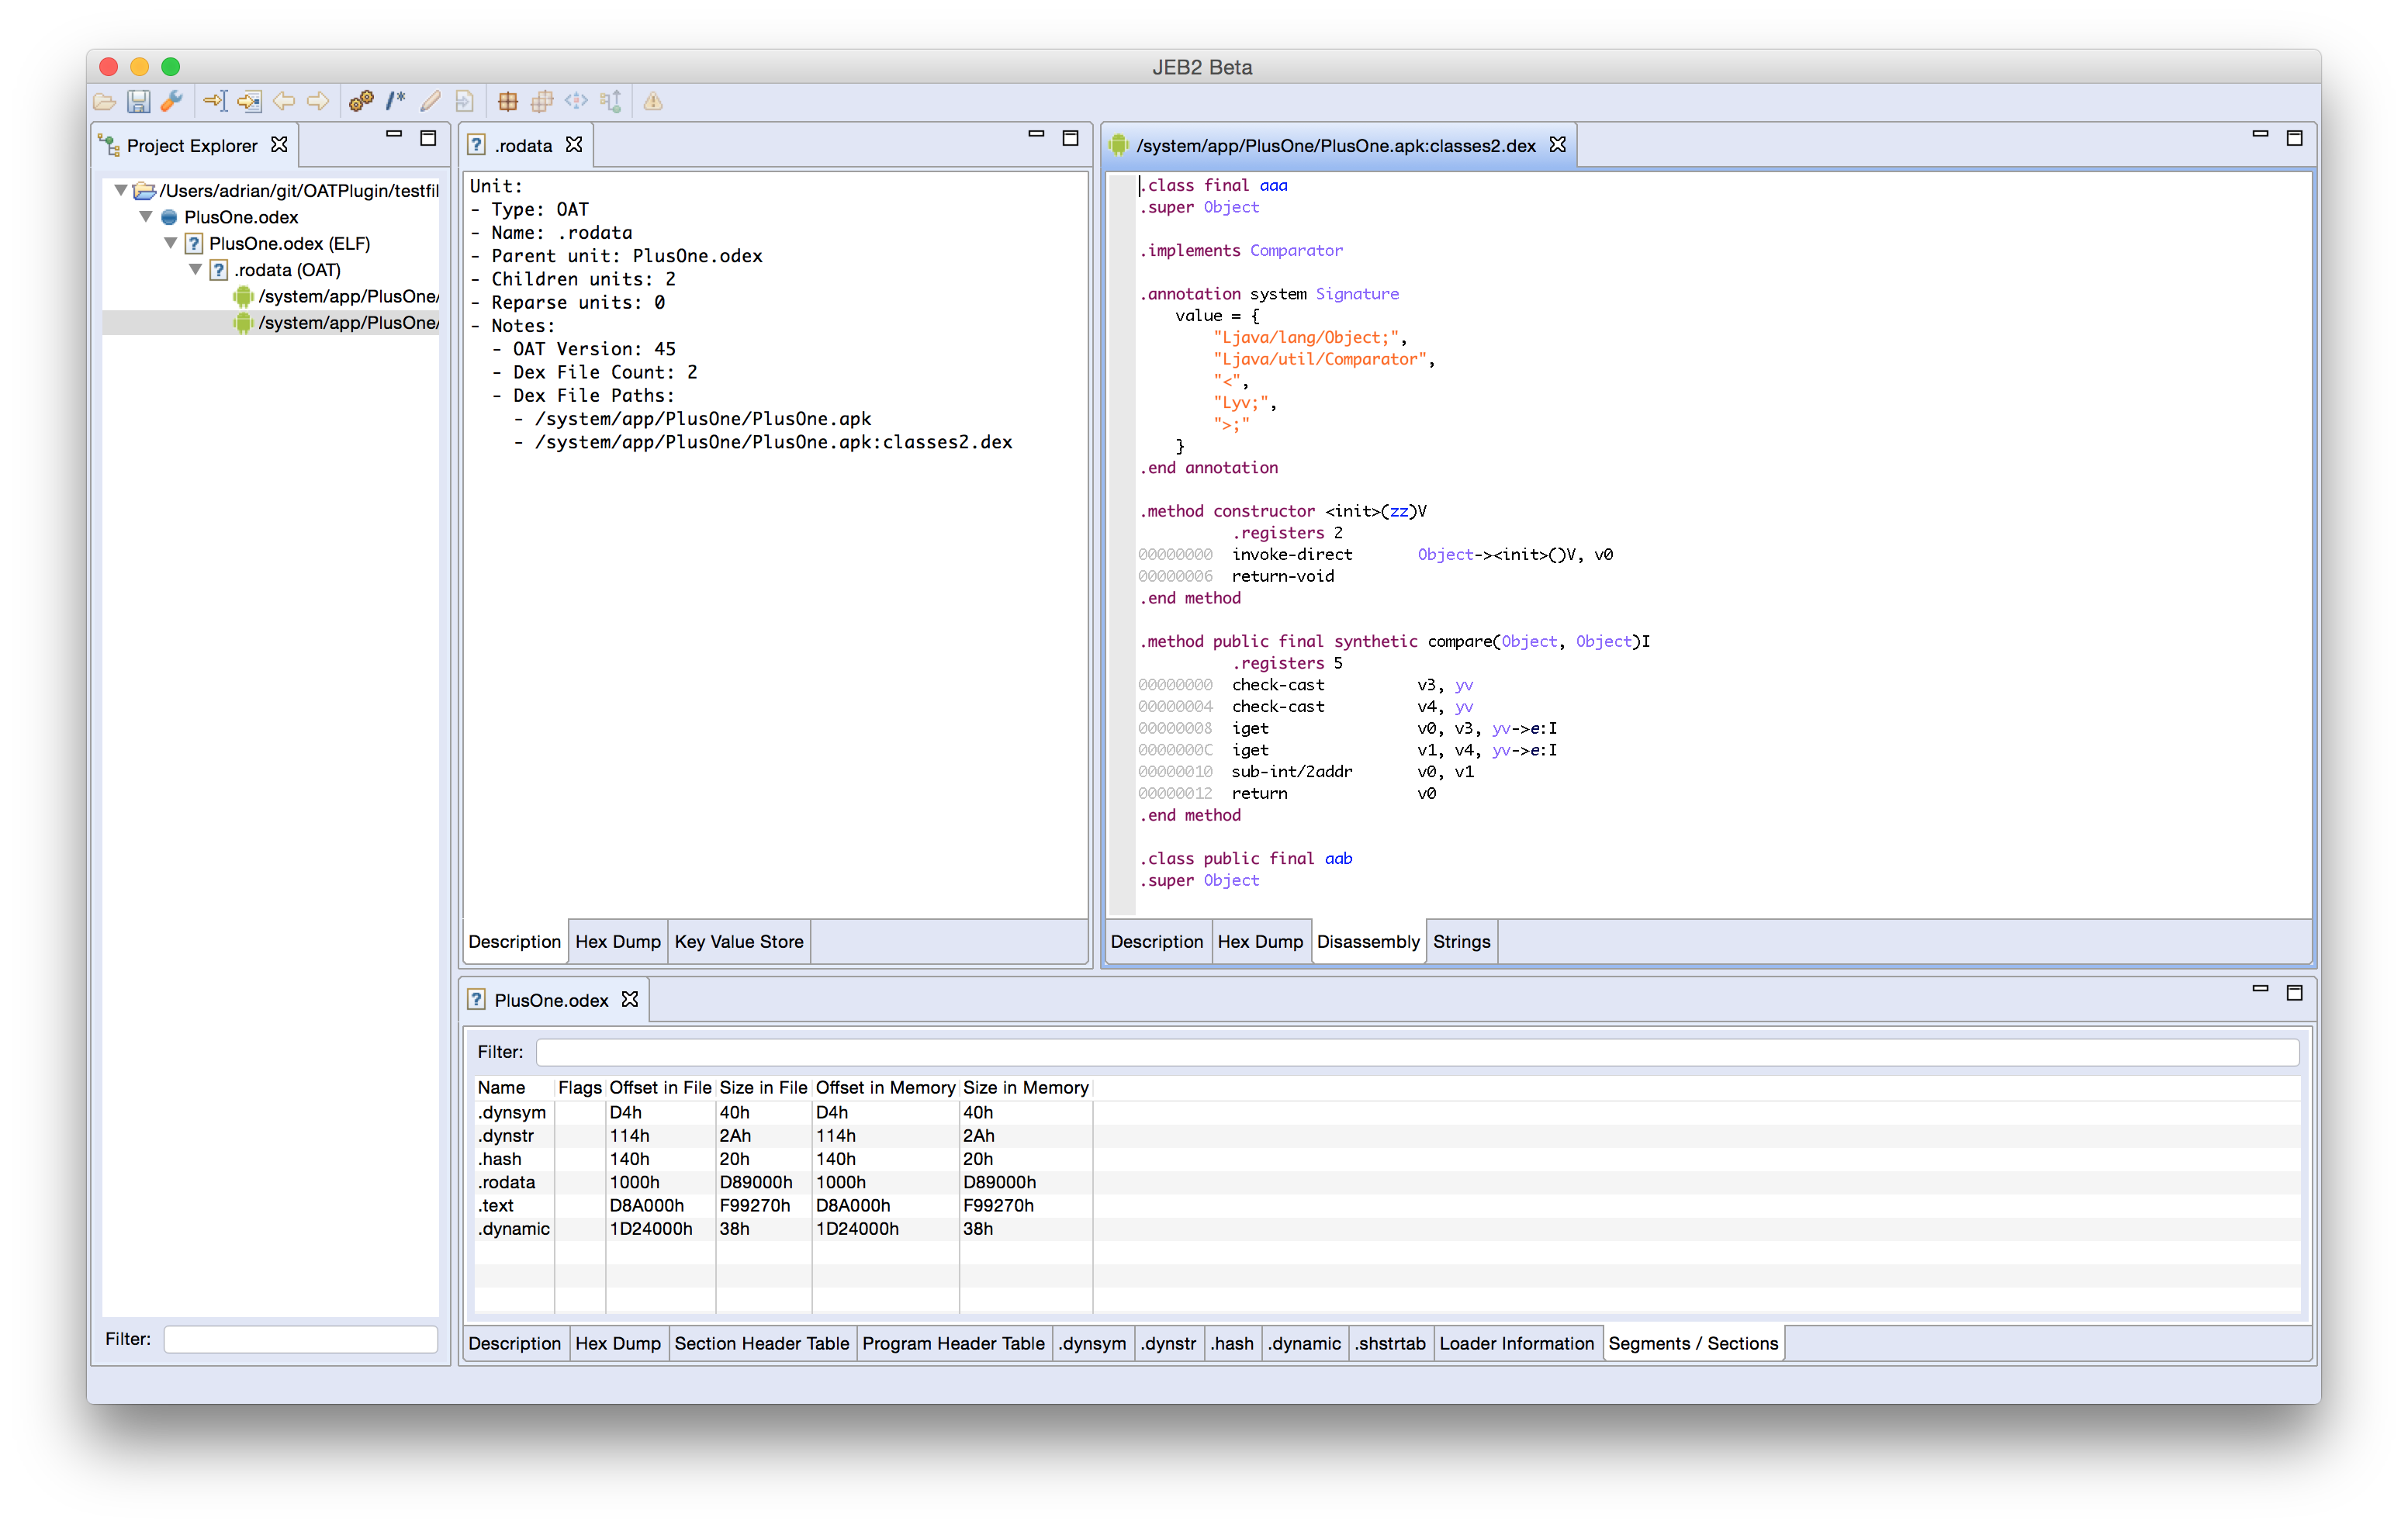
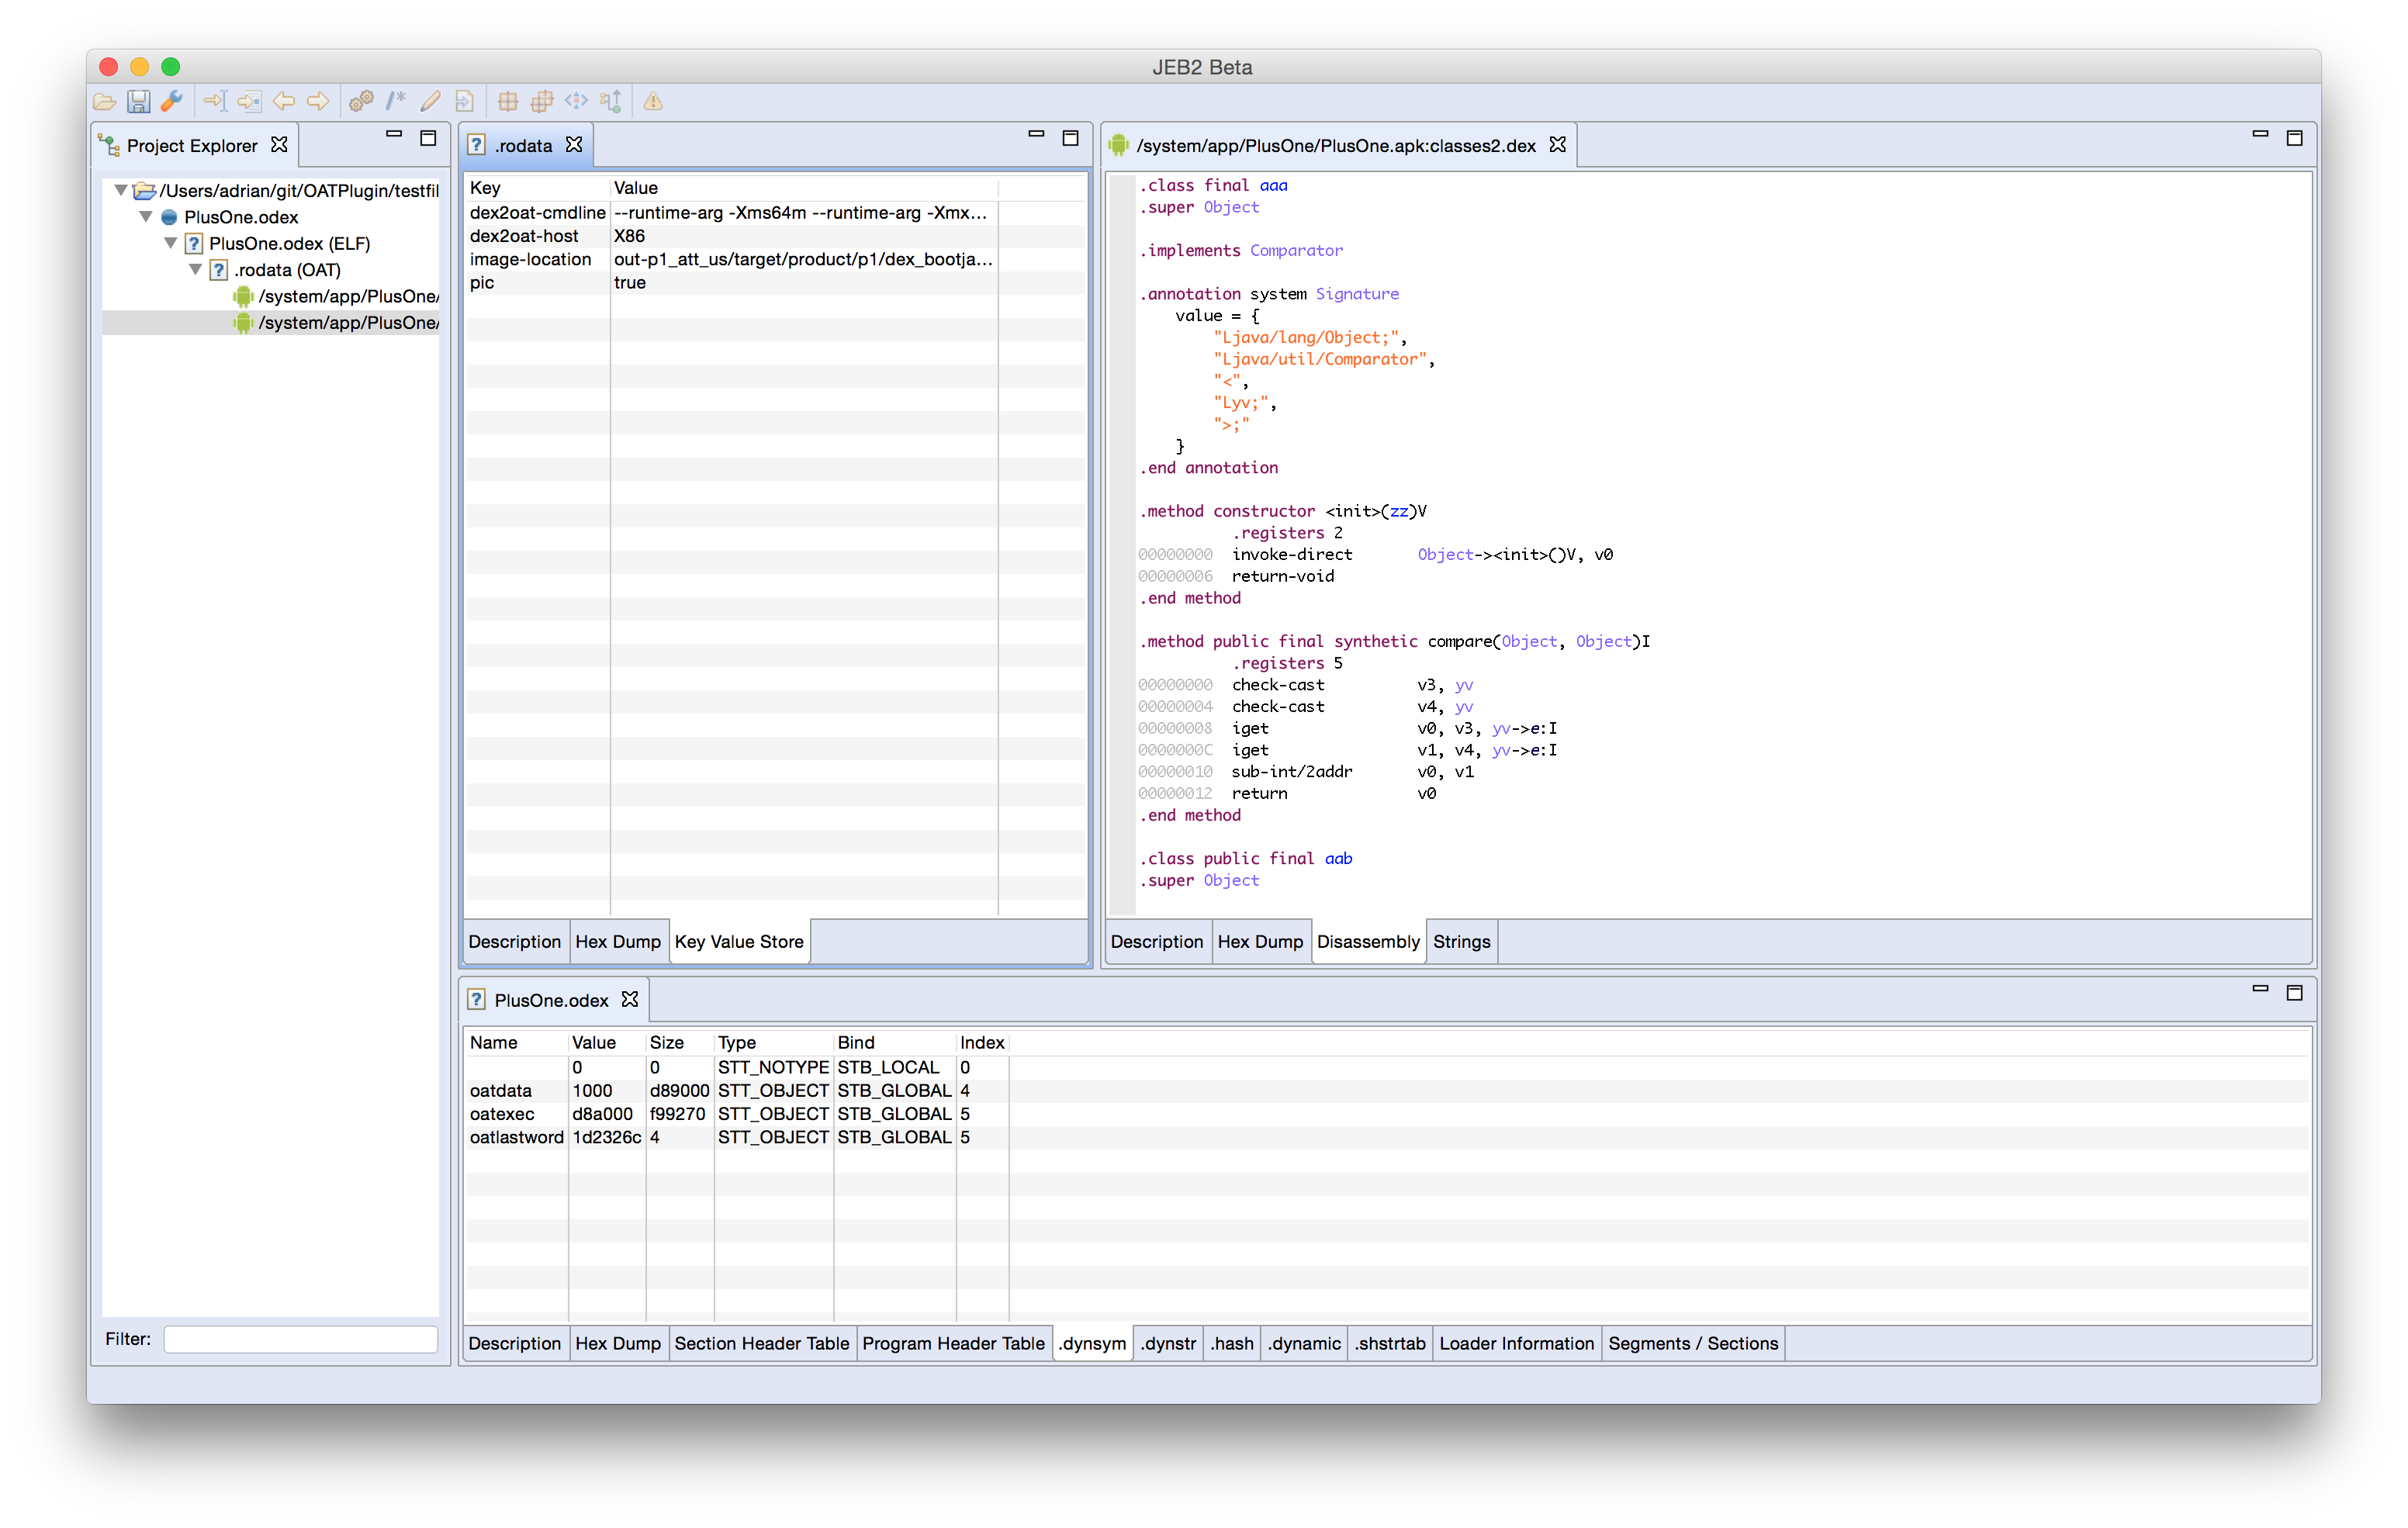
This allows JEB2 to go beyond Android-only files. Although our primary focus stays on mobile, JEB2 is now able to support any type of binary parser, text beautifier, code disassembler, decompiler, or more generally, input transformer.
JEB2 ships with various modules designed to enable Android static analysis. Other modules will be shipped in the medium-term. Our customers will receive those modules via the traditional update channels. Some will be open-source. and available on our GitHub repository.
Application Programming Interfaces (APIs) will allow developers to write their own back-end plugins, back-end transformers, and, in the case of the official RCP front-end, client scripts. Our Full versions will ship with plugins to demonstrate what can be done with the back-end API: we will provide proof-of-concept plugins to support files such as Android OAT, Android JOBB expansion pack, Linux ELF, or MIPS binary code, to name a few.
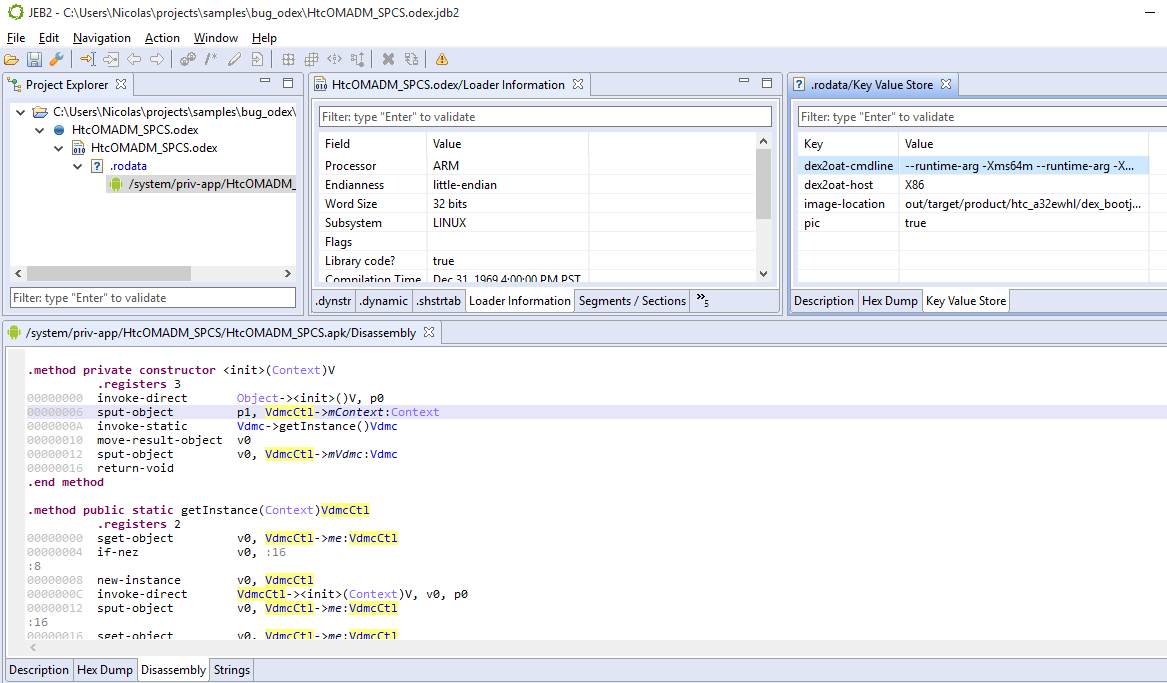
From an immediate features perspective, JEB2 offers advanced capabilities such as virtual hierarchies and package renaming, optimized memory and computing usage when dealing with big files, multiple views and complete code hierarchies, side-by-side disassembly and decompiled code, the ability to analyze multiple artifacts within a single session.
JEB2 also supports artifact re-parsing. Recursive processing and artifact analysis delegation, manual or automatic, was a crucial design goal. We will demonstrate those capabilities in future blogs, the user manual, as well as YouTube videos.
A technical note regarding JEB 1.x to JEB2 migration:
- JEB 1.x database files (“JDB”) files are not compatible with their JEB2 counterparts. We may provide a tool to convert or extract the information out of JDB files. However, it is unlikely that it ships with the initial release of JEB2;
- JEB 1.x API is not compatible with the back-end API of JEB2.
A new subscription model
JEB2 is moving away from the traditional “perpetual license” model. JEB2 remains a desktop software, but is now subscription-based. This allows us to:
- make sure all customers are using the most recent software release, a condition required to provide efficient and timely support;
- offer flexible plans, ranging from a monthly standard package for one-off consulting tasks, to complete packages with API access, floating seats, and more.
Here are some additional details. We are currently planning to offer three plans: Standard, Business and Enterprise. The Standard package – just like the public demo build – does require an Internet connection to operate. Professional packages (Business and Enterprise) do not: they are fully-functional in air-gaps, a common industry practice when analyzing malicious code. The professional packages also offer APIs and support levels. Please refer to the pricing page for details.
Customers with a valid JEB 1.x license will receive an equivalent JEB2 subscription till the end of their current support period.
- JEB 1.x Full → JEB2 Business
- JEB 1.x Floating → JEB2 Enterprise
All JEB 1.x quotes that were issued before June 17, 2015, will be honored. JEB 1.x will receive fixes for major issues. We may also consult on special requests for JEB 1.x.
Finally, users with a valid JEB 1.x license will be able to use it according to the terms of the original user agreement.
More to come
The official release of JEB2 is being finalized as we speak. Most of the final tweaks will based on further internal testing and your feedback during this demo period. Give a try to the demo version of our latest beta build and let us know your comments via email, forum, or Twitter. We will continue to post on this blog to address questions and provide additional details over the coming weeks. Thank you.